Why I Built Diceify
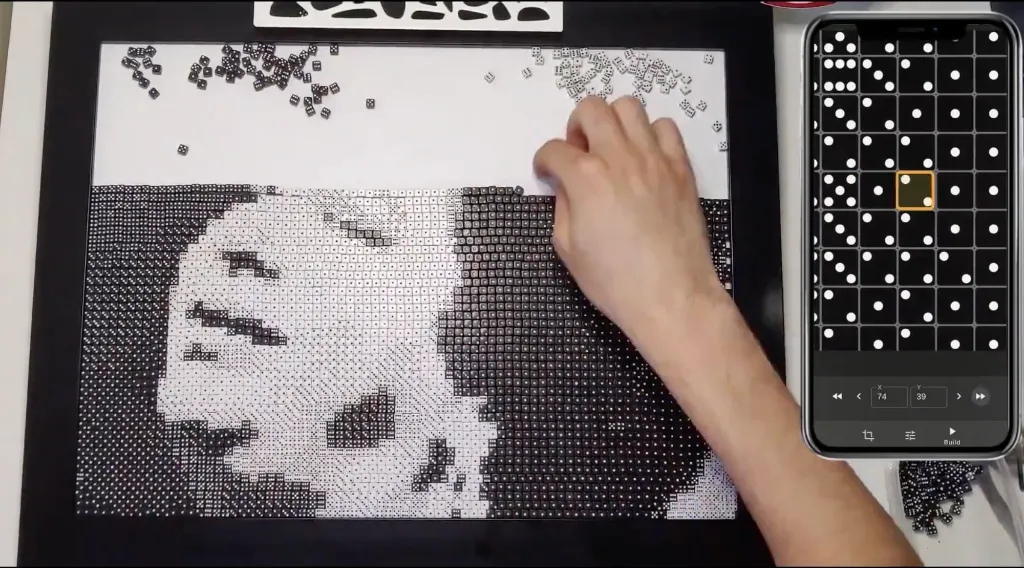
It started during COVID. I wanted to make a dice portrait of Umm Kulthum — the most famous Egyptian singer of all time. But when I looked for tools to help, everything I found was... frustrating.
The problem with existing tools
None of the tools out there gave you real control. No sharpness adjustment. No proper black and white option. Just basic converters that spit out a pattern and left you to figure out the rest. (If you want to know what a converter actually does, I wrote up how dice art works: six pip values, two dice colours, twelve shades.)
But even when you had a decent pattern, actually building the thing was a nightmare.
Losing track of everything
Here's what would happen: you're staring at an image of your dice pattern, trying to place dice on a frame. You look down to grab a die, look back up, and... where was I? Which row? Which column? You spend more time finding your place than actually placing dice.
And it gets worse. When you have a run of the same die — say, ten 5s in a row — you start placing them and lose count. Was that seven or eight? Better recount. This happens constantly, and it drastically slows down an already slow process.
The Builder was born
That's when I thought: what if there was a follow-along interface? Something that shows you exactly where you are. One die at a time. No guessing, no recounting, no losing your place.
That's the Builder. It highlights the current position, tells you which die to place, and tracks your progress. You just follow along. It makes the whole process so much easier. The dice art generator that grew around it is free to use for previewing a photo and counting the dice.
Two ways to build
I've found there are two main approaches to physically building dice art:
- Glue first, then dice: Apply glue to the base, then place each die onto the adhesive. More controlled but slower.
- Dice first, then glue on top: Arrange all the dice dry, then apply glue or resin over the top. Much faster, but risky.
I tried the second method. It's tempting because it's so much quicker. But here's the catch: if your top layer isn't transparent enough, or if it forms bubbles, it can mess up your entire piece.
That's exactly what happened to me. So if you go that route, keep a close eye on your adhesive. Test it first on a small area. The glue-and-build step of the guide has the materials that have worked since, and Jeremy's portraits of his nieces show the glue-first method done carefully: laid out dry, then transferred row by row.
I'd love to hear about your process
Everyone builds differently. Some people have figured out tricks I've never thought of. If you've made dice art — or you're planning to — I'd genuinely love to hear how you approached it.
What worked? What didn't? What would you do differently next time? For ideas on what to build, the gallery shows the kinds of photos that turn into good dice patterns.
Watch the full process
Here's a video of me building the Umm Kulthum portrait from start to finish: