How I Built Dice Art With Double-Sided Tape Instead of Glue
It's difficult to find any information online about how to create a dice art piece. Here's how I made mine: no pane of glass, no epoxy, just dice you can actually feel.
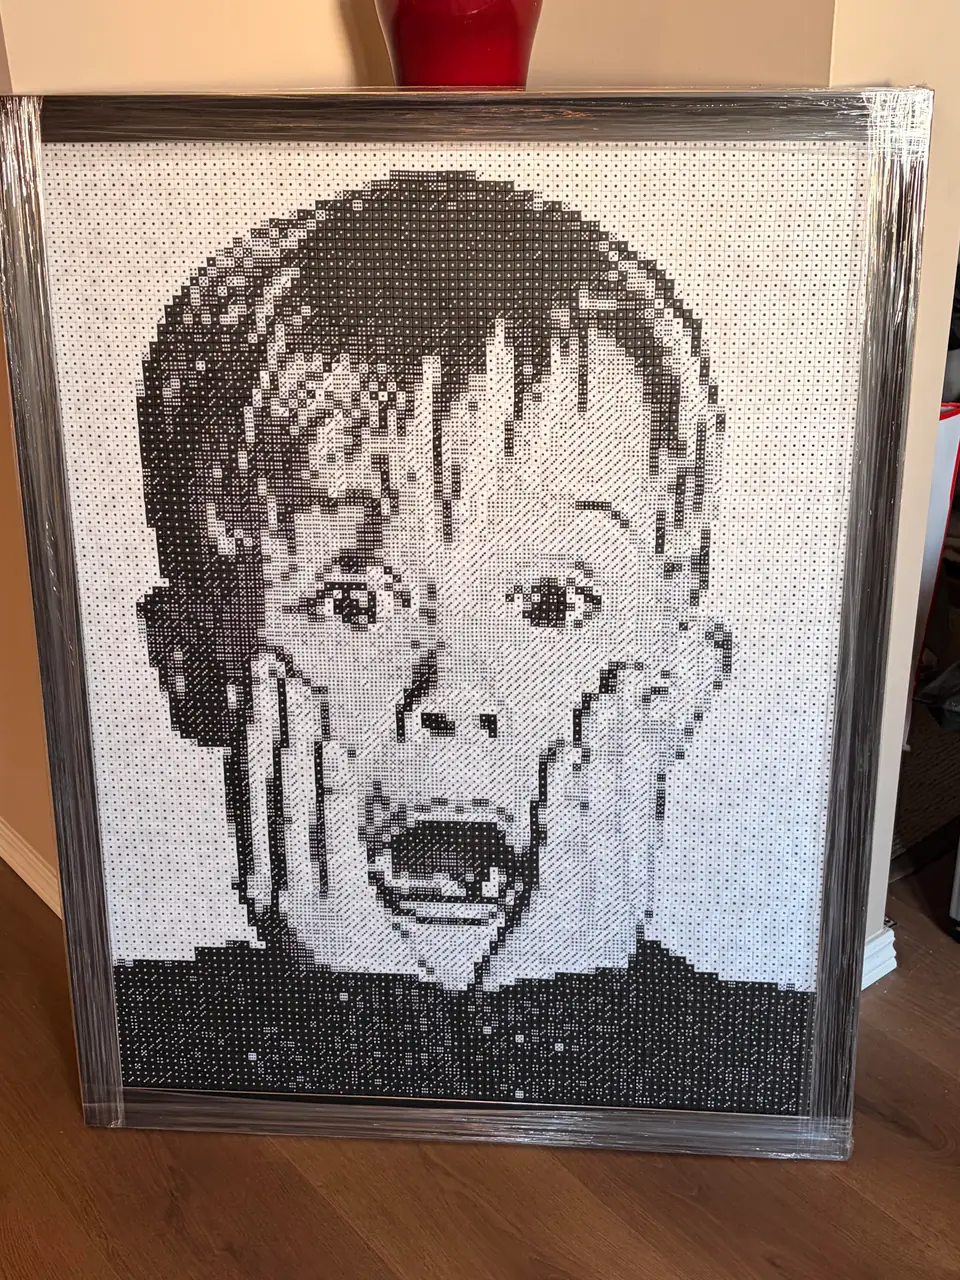
The build at a glance
- Time: 30-40 hours over about 2 weeks, at a minimum of 5 rows per day
- Board: Masonite, cut by a local framing company
- Dice: 8 mm black and white dice from Temu, around $225 CAD
- Adhesive: 4" commercial-grade double-sided tape
The pattern
I found Diceify through Google while researching dice art resources. I especially liked how it allowed customizing the contrast, brightness, sharpness, and the makeup and direction of the dice.
No glass, no epoxy
I wanted to make sure that people could actually feel the dice art, and not have it covered in a pane of glass or an epoxy. Glue felt like the best solution, but that sounded messy if I applied too much.
The board
I contacted a local framing company and asked them to cut a piece of Masonite board for me. This is a simple material that was perfect for the dice art.
I simply multiplied the 8 mm dice by the dimensions of the art piece. I had the number of dice for the height (from Diceify), and did simple math to find the width. Each die was technically less than 8 mm, so I had a bit of a gap overhang. The framing company ended up trimming this excess when I brought the dice back.
The dice
I sourced the dice from Temu and purchased them using coupon codes. They come in black and white: the dice I bought.
I ended up spending around $225 CAD for 12 × 601 pcs (white) and 8 × 601 pcs (black). I think the dice price has increased since then.
The adhesive: double-sided tape
I previously thought glue or epoxy, but these sounded messy or didn't allow people to physically touch the art and feel the dice. I ended up using a commercial-grade double-sided tape, also found on Temu: the tape I used.
I bought the 4" wide one and I have a ton left over. It was super easy to align onto the board (compared to using a regular double-sided tape). There is also a 6" one, but it was too expensive for my purposes.
The adhesion was really good (I inadvertently waxed some arm hair in the process).
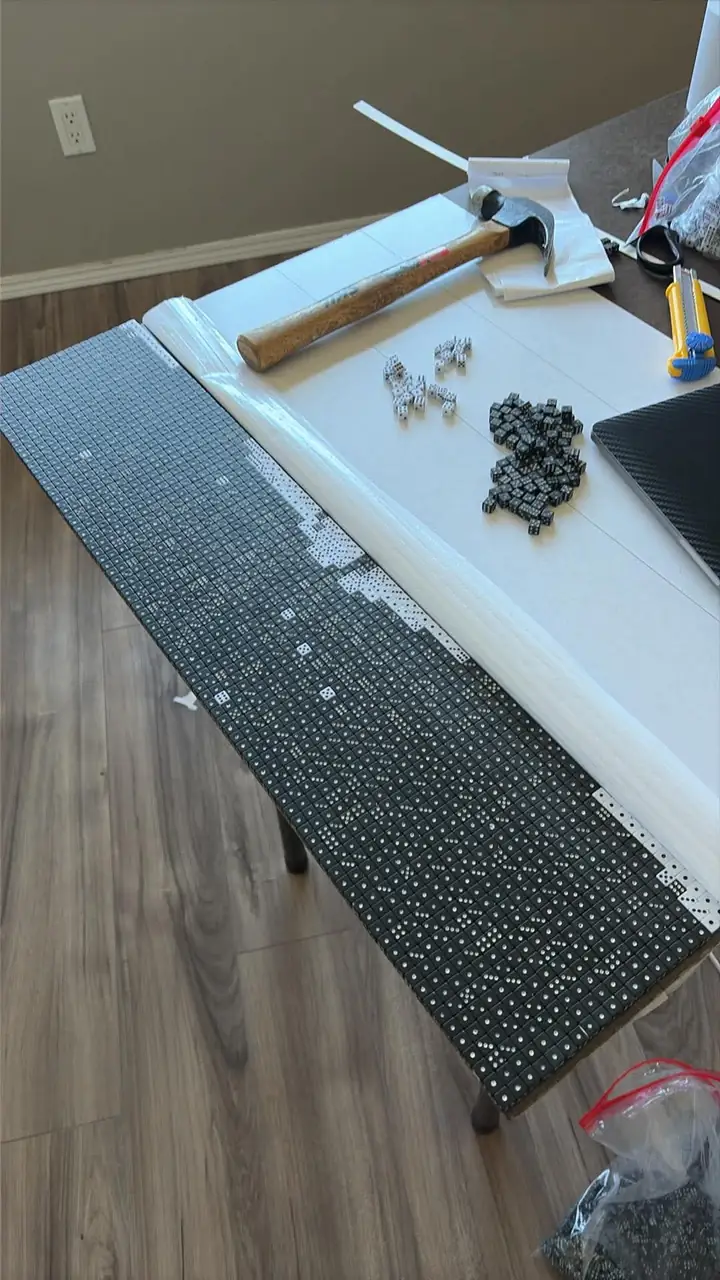
Technique
I exposed the double-sided tape in small increments as I worked up each row.
Every few rows, I would lightly hammer the top and run a hammer along the row to keep it level. I've seen some dice art videos where the rows start to become uneven, which I didn't want. A small misaligned die early on has a ripple effect as you continue.
How long it took
I worked on it for probably 30-40 hours, and it took me about 2 weeks to complete. I had a goal to complete a minimum of 5 rows per day, which made things easy with Diceify.
Want to try it yourself?
Make the pattern with the free dice art generator. For other ways to build it, see buying dice and how to glue dice art.
Open the editor